Vetting Hub, Specialist Training Courses in Screening, Vetting and Compliance
Expert training for confident hiring, identity assurance and people based risk decisions, created by Graham and Vivianne Johnson with industry experience since 2006.
- Feb 3, 2026
How to Do Right to Work Checks in 5 Steps (Without the £45,000 Fine)

£40,000.
That's what Mark Sullivan paid after a Home Office raid on his Surrey chip shop in March 2025. His employee had provided a National Insurance number, student loan records, housing benefit receipts, and a photocopy of a passport. The worker had a UK bank account. He was paid through PAYE. There were no red flags.
But Sullivan never saw the original passport. That single omission cost him £40,000.
Here's the answer upfront: right to work checks take five steps, must be completed before employment starts, and require you to see original documents or use the Home Office online system. Get any step wrong and you lose your statutory excuse, which means you're liable for up to £45,000 per worker for a first breach, or £60,000 for repeat offences.
About the Author: Vivianne Johnson ran screening and vetting companies from 2006 to 2024. In 2025, she co-founded Vetting Hub to make nearly two decades of operational knowledge accessible through CPD Certified training. Vetting Hub is listed on the UK Register of Learning Providers (UKRLP).
Learn more about Vetting Hub →
Why This Matters in 2026
The Home Office isn't slowing down. Between July 2024 and December 2025, illegal working raids increased by 77%, with an 83% rise in arrests. More than 17,400 enforcement visits were conducted. The Border, Security, Asylum and Immigration Act 2025, which received royal assent in December 2025, has extended right to work obligations to gig economy employers and non-traditional employment arrangements.
Small businesses are being hit hardest. The Federation of Small Businesses has called these penalties potentially "fatal" for smaller employers who lack dedicated HR teams. Yet the Home Office applies the same £45,000 penalty to a fish and chip shop as it does to a multinational.
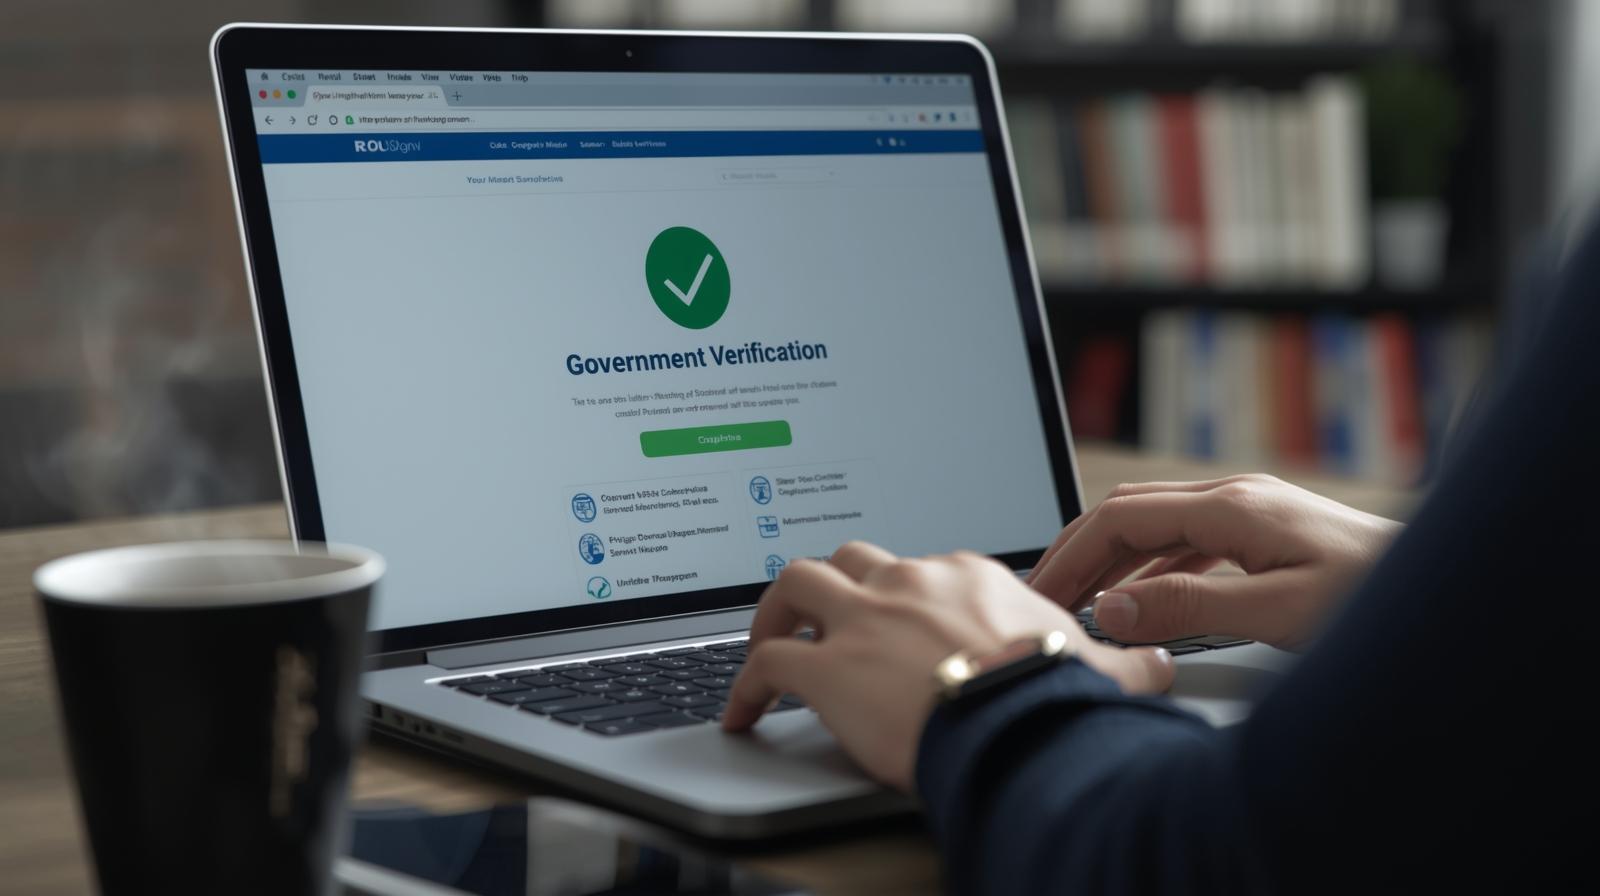
The 5-Step Right to Work Check Process
The Home Office guidance (updated June 2025) recognises three methods for checking right to work: manual document checks, online checks via the Home Office service, and checks through an Identity Service Provider (IDSP). Whichever method you use, these five steps must be completed before employment starts.
Step 1: Obtain the Right Documents
Before doing anything else, you need to know which documents to request. The Home Office maintains two lists of acceptable documents.
List A documents prove indefinite right to work. These include a British passport, Irish passport, or certificate of registration as a British citizen. If someone provides a List A document, you only need to check once, at the start of employment.
List B documents prove time-limited right to work. These include visas, Biometric Residence Permits (BRPs), and frontier worker permits. If someone provides a List B document, you must set a diary reminder for a follow-up check before their permission expires.
The critical point: you cannot accept photocopies or scanned documents sent by email alone. Mark Sullivan's £40,000 mistake was accepting a photocopy of a passport without seeing the original.
Step 2: Check Documents in Person (or via Live Video)

You must examine original documents in the physical presence of the document holder, or via a live video call where you can see both the person and the document. A pre-recorded video is not acceptable. An emailed photograph is not acceptable.
During the check, verify that the photograph matches the person in front of you. Check that the date of birth is consistent with their appearance. Confirm the document hasn't expired. Look for signs of tampering: irregular fonts, different paper quality, pages that don't align, or photos that appear to have been substituted.
For passports specifically, check the biographical data page, any pages with UK endorsements, visas, or stamps, and the expiry date. Don't just glance at the front cover.
Step 3: Make a Clear, Dated Copy
Once you've verified the original document, make a copy that cannot be altered. This means a PDF, a photocopy, or a secure digital image, not an editable Word document.
For passports, copy every page containing the holder's personal details, photograph, signature, date of birth, nationality, expiry date, and any UK endorsements or visas. For other documents, copy both sides if there's information on both.
Add the date of the check to the copy. This is essential. The Home Office will look for evidence that your check was completed before the employment start date. Without a date on your copy, you cannot prove when the check occurred.
Step 4: Use the Online Service (When Required)
Some workers cannot provide physical documents and must be checked using the Home Office online right to work service. This includes people with eVisas, Biometric Residence Permits, Biometric Residence Cards, and frontier worker permits.
The worker generates a share code through their UKVI account, which they give to you. You enter the share code along with their date of birth at the Home Office checking service. The system returns a Positive Verification Notice (PVN) if they have the right to work, which you must save as your record.
If the online check returns a Negative Verification Notice, you cannot employ that person until their status is resolved. If you employ them anyway, you have no statutory excuse.
Step 5: Store Records Securely
You must retain copies of every right to work document for two years after the employment ends. If the Home Office visits in year three after someone has left, and you can't produce the dated copy of their passport, you've lost your evidence.
Store records in a way that allows rapid retrieval. The Home Office doesn't give you a week to find paperwork during a compliance visit. They expect you to produce records on demand.
The 4 Mistakes That Trigger £45,000 Fines
Accepting photocopies without seeing originals. This was Mark Sullivan's error. A photocopy is evidence that a check happened, but only if you've also verified the original. A photocopy alone proves nothing.
Missing follow-up checks for time-limited workers. If someone has a visa that expires in two years, you need to check again before that date. Failing to diarise follow-up checks is one of the most common reasons employers lose their statutory excuse.
Conducting checks after employment starts. The check must happen before day one. If someone started on Monday and you checked their documents on Tuesday, you have no statutory excuse for Monday. If the Home Office visited on Monday, you'd be liable.
Poor record-keeping. If you can't produce a dated copy of the document during a Home Office visit, it's as if the check never happened. Filing systems that work on day one become useless if they're not maintained.
What the Statutory Excuse Actually Protects
The statutory excuse is your legal defence against a civil penalty. If you can demonstrate that you completed a prescribed right to work check correctly before employment began, and conducted any required follow-up checks, you should not be liable for a penalty even if the worker later turns out to have no right to work.
This is important: the statutory excuse protects employers who have been deceived, provided they followed the correct process. Mark Sullivan was deceived by someone using forged documents. But because he didn't see the original passport, he couldn't rely on the statutory excuse.
The Home Office guidance is clear: employers must follow the prescribed process to establish a statutory excuse. Partial compliance doesn't count.
The 30% Discount (and When to Take It)
If you receive a civil penalty notice for a first breach, you can get a 30% reduction by paying in full within 21 days. This Fast Payment Option reduces a £45,000 penalty to £31,500.
But here's the trap: once you pay, the matter is closed. If you had grounds for objection or appeal, paying immediately forfeits those rights. Mark Sullivan was advised by lawyers that contesting his fine could see it double to £80,000 if he lost. He paid £28,000 (after discounts for cooperation).
The decision to pay or contest depends on whether you genuinely have evidence of a statutory excuse. If you do, contest. If you don't, the fast payment option limits the damage.
What to Do Now

If you're unsure whether your current right to work process is compliant, audit it this week. Don't wait for a Home Office visit to discover gaps.
Check that every employee file contains a dated copy of their right to work document. Verify that follow-up checks have been diarised for anyone with time-limited permission. Confirm that whoever conducts your checks understands they must see original documents or use the online system correctly.
Our Right to Work Checks & Legal Requirements Course (£85.00) covers the full Home Office process and gives your team the knowledge to get this right every time. For identity verification specifically, our Digital ID & GPG45 Compliance Course (£99.00) explains how digital identity services work and when to use them.
If you're concerned about document fraud, our Fraud Awareness in Pre-Employment Screening Course (£99.00) teaches you what to look for when someone hands you documents that might not be genuine.
Related Reading
This post is part of our Right to Work Pillar Guide, which covers everything employers need to know about legal compliance. Also see our posts on Right to Work Fine Amounts in 2026 and Digital Right to Work Checks Explained.
Vetting Hub provides CPD Certified training in screening, vetting, compliance and risk. All courses are developed by Graham and Vivianne Johnson, who ran screening and vetting companies from 2006 to 2024. Vetting Hub is listed on the UK Register of Learning Providers (UKRLP).